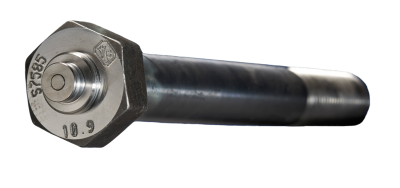
When drawings, part numbers, or documentation are missing, knowing how to reverse engineer a bolt in the field becomes critical. Field technicians and maintenance teams often need to identify fastener dimensions quickly to avoid downtime, safety risks, or incorrect replacements, so we’ve come up with a quick and easy way to gather all necessary specifications.
This guide walks through bolt reverse engineering step by step, showing how to accurately measure bolt dimensions using our Reverse Engineering Kit designed for on-site use.
Why Bolt Reverse Engineering Is Important in the Field
Field environments rarely offer ideal conditions for fastener identification. Over time, bolts can lose markings, experience wear, or be replaced with non-standard hardware. Without proper identification, teams risk selecting the wrong bolt for replacement, which can lead to joint failure, leakage, or equipment damage.
Our Reverse Engineering Kit allows you to:
- Identify bolt size without drawings
- Confirm thread pitch and bolt length
- Match specialty fasteners correctly
- Reduce downtime and rework
- Improve maintenance reliability
In many cases, fastener identification in the field is the fastest path to getting equipment back online.
What Is a Fastener Reverse Engineering Kit?
Our fastener Reverse Engineering Kit is a portable set of bolt measurement tools used to easily determine critical fastener dimensions in the field. These tools eliminate guesswork and allow technicians to accurately measure bolts directly from equipment.
Tools included:
- Shank Gauge (inch and metric) to measure bolt diameter
- Thread Gauge to identify thread pitch
- Neck Angle Gauge for specialty bolt geometry
- Tape Measurer to measure bolt length and shank length
Together, these tools provide everything needed for field bolt identification.
Step-by-Step: How to Reverse Engineer a Bolt in the Field
Follow this proven process to reverse engineer fasteners accurately and consistently.
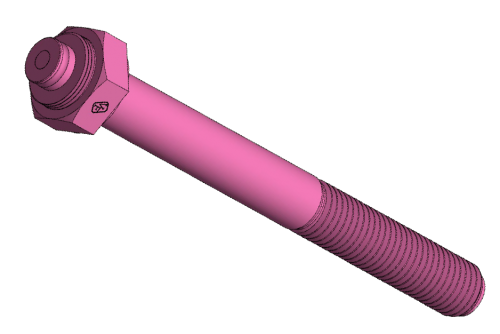
Step 1: Measure the Bolt Shank Diameter with the Shank Gauge (inch & mm)
The first step in identifying a bolt is measuring the bolt shank diameter. Using the shank gauge:
- Insert the bolt into the gauge openings
- Identify the closest matching diameter
- Confirm whether the measurement is inch or metric
Correctly identifying bolt diameter is essential for load capacity and proper fit.
Step 2: Measure Thread Pitch Accurately with the Thread Gauge
Thread pitch tells you how many threads occur over a given distance, and it must match exactly for a proper fit. Using the thread gauge:
- Place the thread gauge against the bolt threads
- Test different leaves until full thread contact is achieved
- Record the pitch value
You may need to test several leaves before finding the perfect match. A common mistake is matching your thread pitch to the incorrect measurement, which will likely lead to failure.
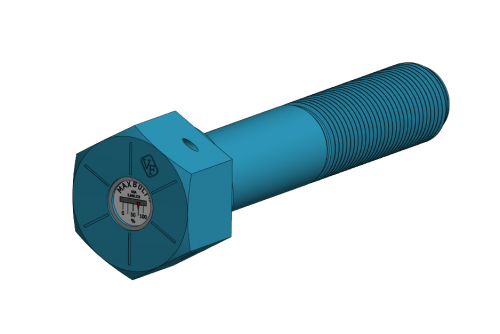
Step 3: Measure Bolt Neck Angle with the Neck Angle Gauge
Tool: Neck Angle Gauge
Some bolts include a neck transition angle between the head and shank. This bolt specification is especially important in specialty and load-critical fasteners. Using the neck angle gauge:
- Place the gauge against the neck transition
- Compare angle alignment
- Record the matching angle value
This detail is often overlooked but can be essential when replacing custom or application-specific bolts.
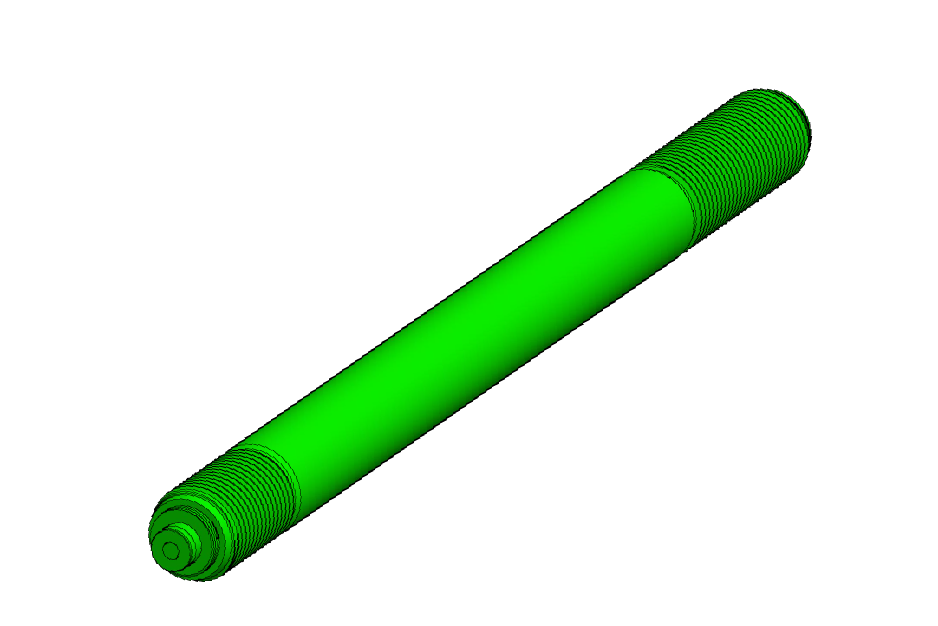
Step 4: Measure Bolt and Thread Length with the Tape Measure
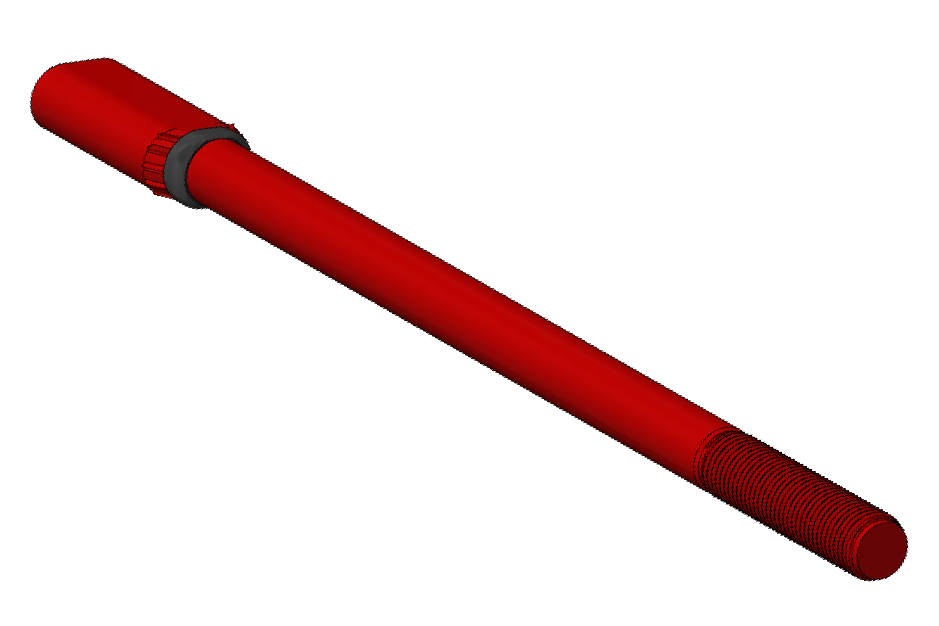
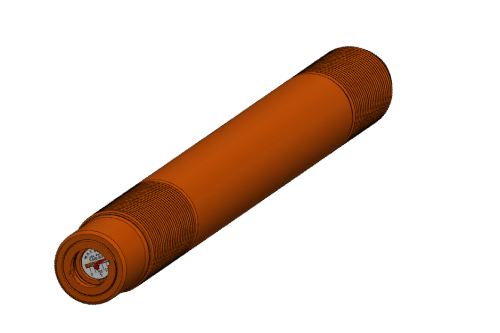
Proper bolt length measurement depends on the bolt head style. Measure the shank length from under the head to the tip for hex bolts, and for countersunk bolts you’ll need to measure the overall length, including the head. Using the tape measure:
- Lay the bolt flat
- Measure along the centerline
- Record total length and unit type
Accurate bolt length measurement ensures proper engagement and preload. Be sure to also measure the thread length during this step. The standard thread length for bolts is two times the diameter (recorded in step one). If your bolt requires a thread length that is not standard, you’ll need to ensure that the specification is communicated to your supplier.
Bolt Reverse Engineering Checklist
When reverse engineering a bolt in the field, always document:
- Bolt diameter
- Thread pitch
- Metric or inch designation
- Neck angle
- Head style (hex, oval, countersunk, etc.)
- Bolt length
- Thread length
- Any visible wear or damage to the current bolt
This checklist supports consistent fastener identification and simplifies reordering.
Best Practices for Accurate Bolt Measurement
To improve accuracy when reverse engineering fasteners on site:
- Clean threads before measuring
- Remove debris and corrosion
- Measure twice to confirm results
- Verify inch vs. metric early on in the process
- Use calibrated bolt measurement tools
- Photograph the bolt for reference
Who Should Use a Bolt Reverse Engineering Kit?
A portable bolt measurement kit is especially convenient for:
- Field service technicians
- Maintenance and reliability teams
- Millwrights and mechanics
- Shutdown and turnaround crews
- Reliability engineers
- Mining and processing operations
- Heavy equipment repair teams
Knowing how to reverse engineer a bolt in the field eliminates delays caused by missing specifications. With the right fastener measurement tools and a structured approach, technicians can accurately identify bolt size, thread pitch, and length details, even without drawings or part numbers.
When documentation fails, measurement becomes the specification.
For more information or to request a quote, visit our website or email sales@vfbolts.com